In this article, you will learn how to curve text in Google Slides. Curving a text in an arc or in a circle makes the presentation visually appealing to grab the audience’s attention. You can make text in an arc around text, images, tables, or wherever you like. One form of curve text like an arc is shown below.
You now understand why you should curve the text in a presentation. Let’s know how to curve text in Google Slides.
Unfortunately, Google Slides doesn’t have a built-in feature for curving the text. But don’t worry we have plenty of ways to make it possible. Let’s explore each method in detail.
Related: How to change size of Google slides
Table of Contents
YouTube Video: How to Curve Text in Google Slides
To make it very convenient for you we have made a YouTube video on how to curve text in Google Slides. Please click the above link, have a look, and be sure to subscribe.
Ways for How to Curve Text in Google Slides
Way 1: How to Curve Text in Google Slides using Canva
Canva is a versatile tool for graphic designing. You can use it for your graphic needs but here we are going to discuss how you can use Canva to curve text for Google Slides.
You can follow the following steps for creating curve text according to your needs.
Visit Canva.com
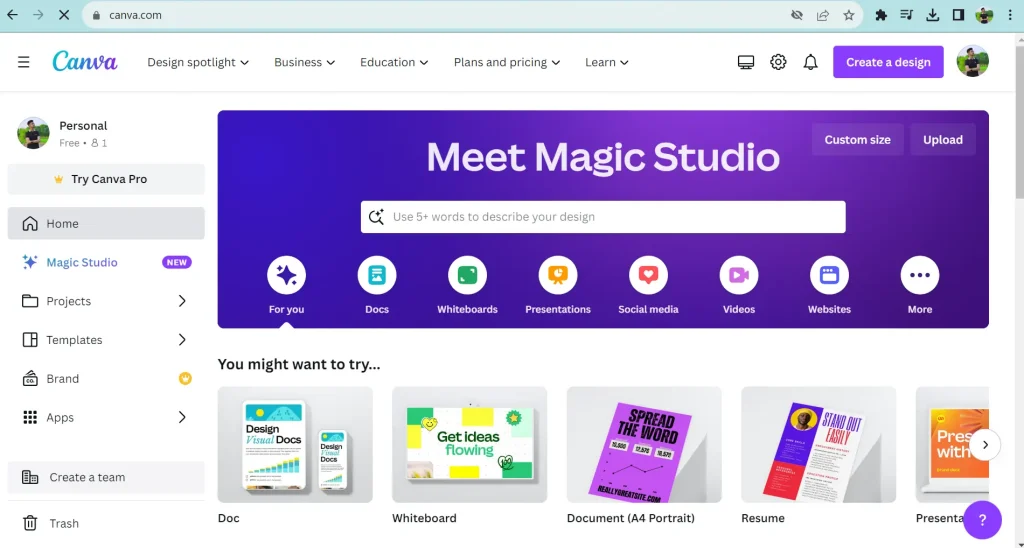
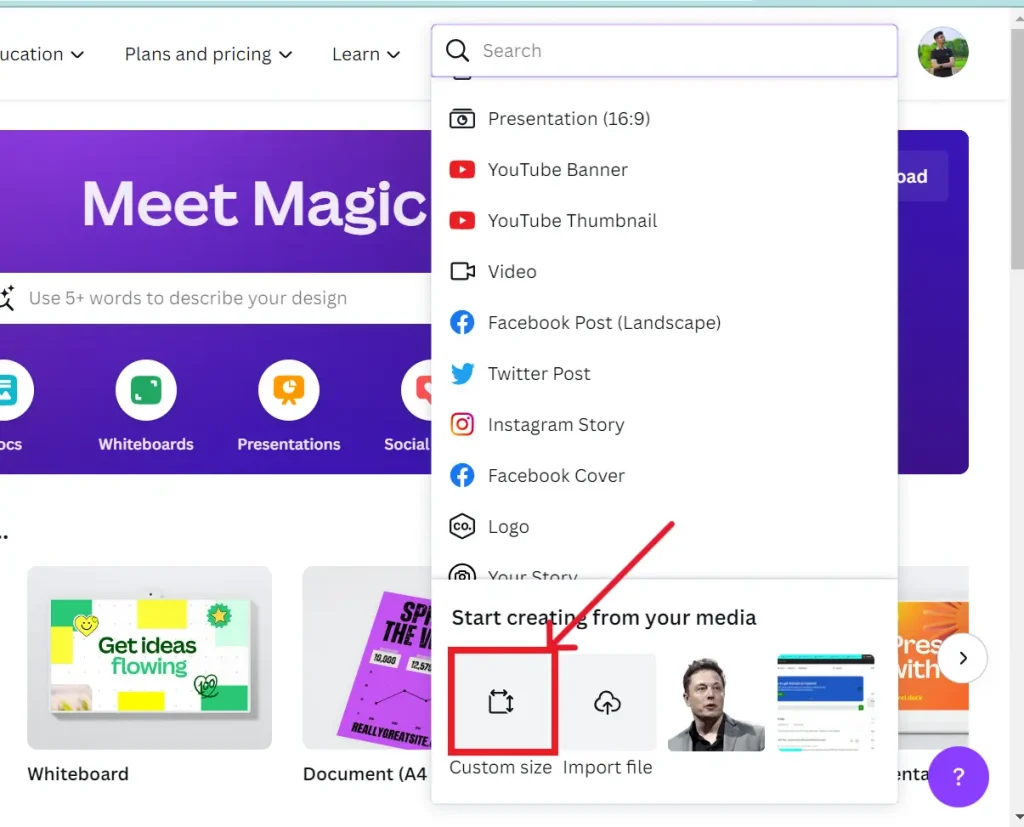
Click Create a Design in the top right corner.
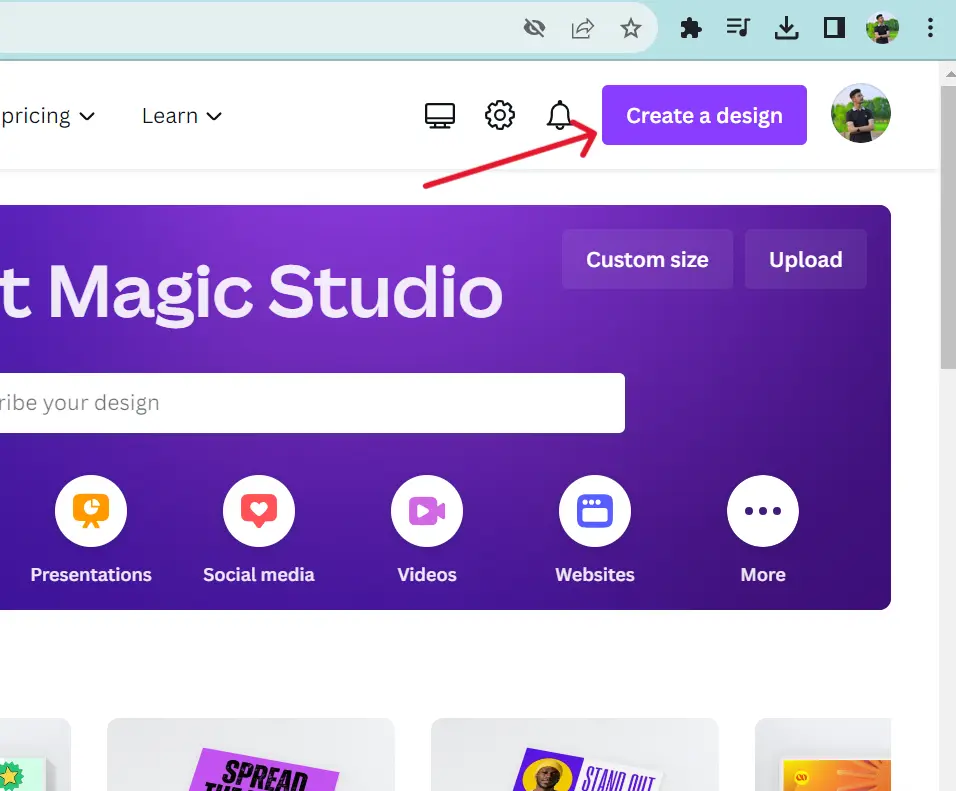
Now, click Custom size
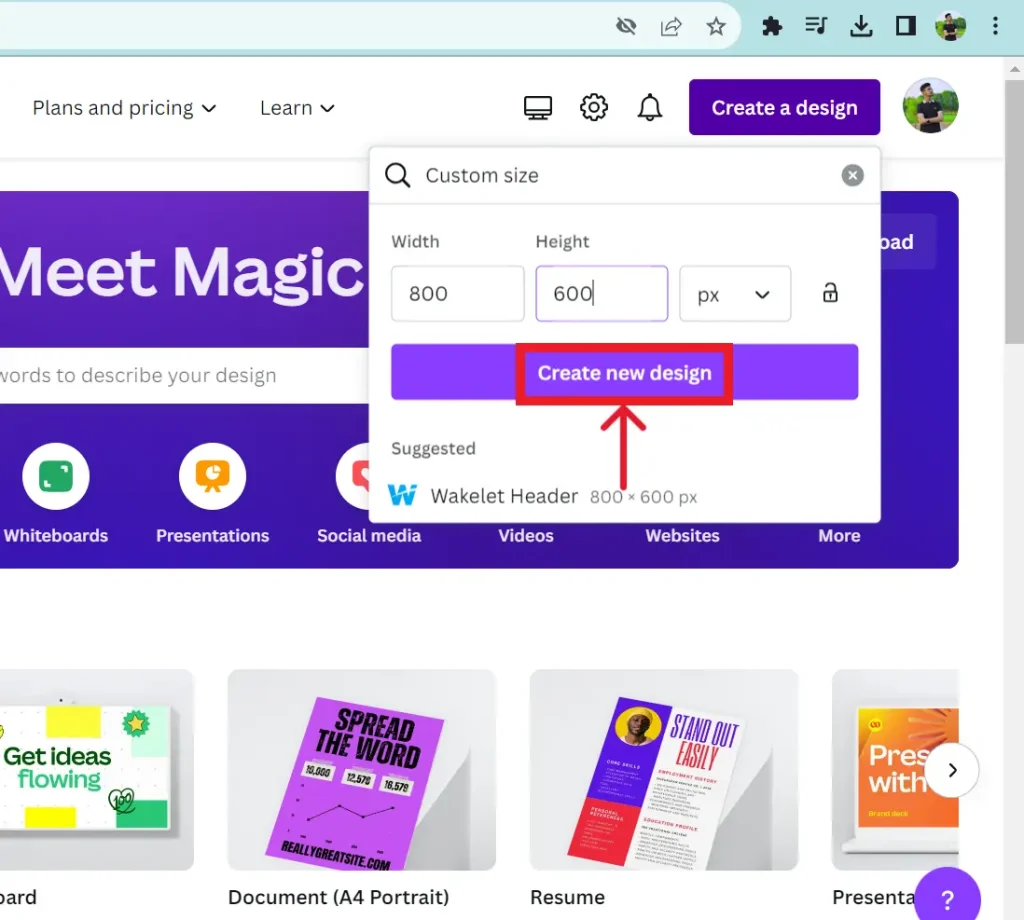
Type the size and click Create New Design
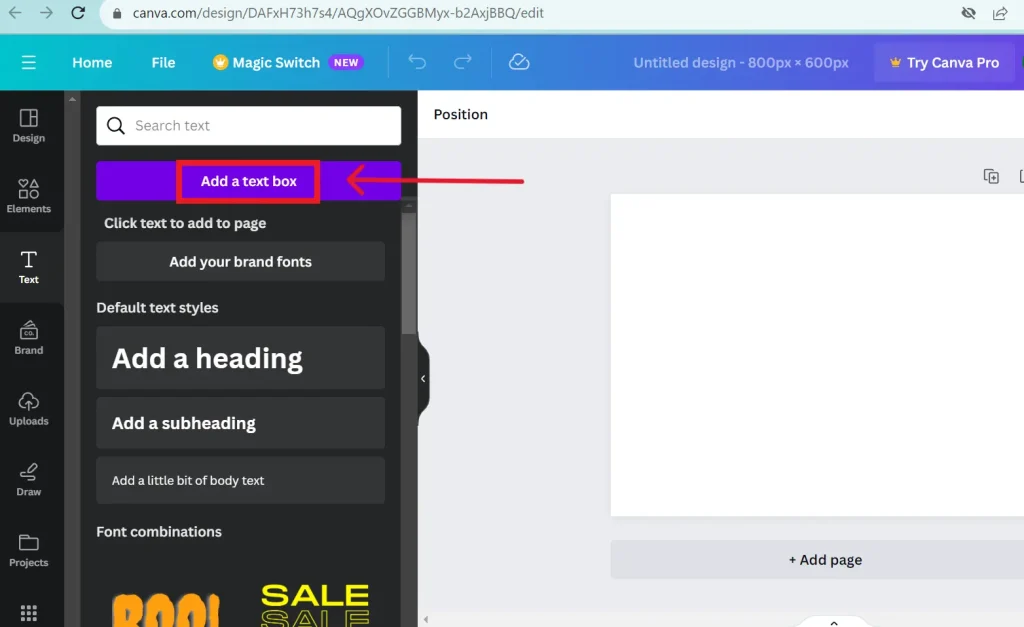
Now click on text from the left sidebar and click add a text box
Add the desired text in the text box. You can further customize the text using the top toolbar.
Now go to effects from the top toolbar
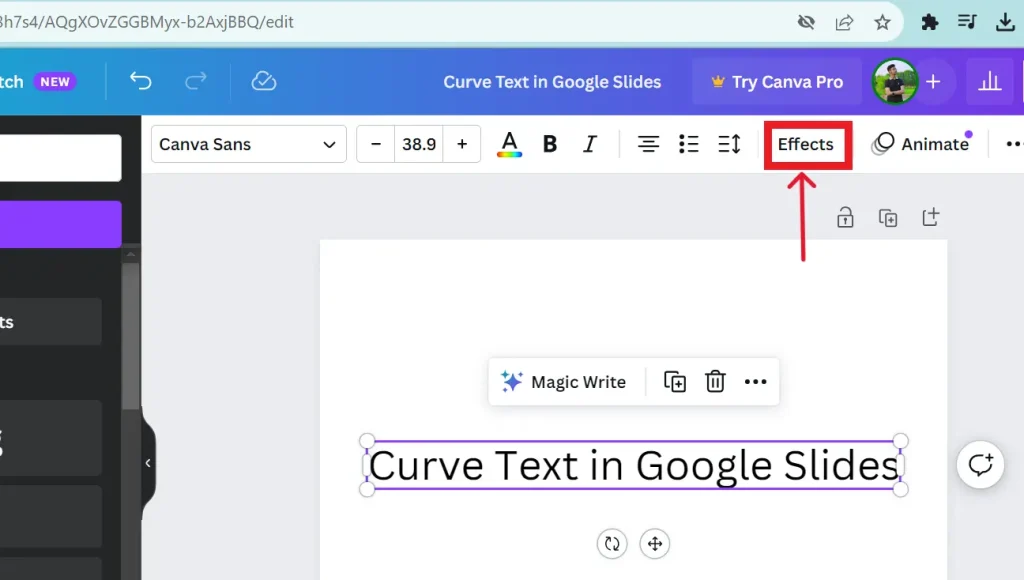
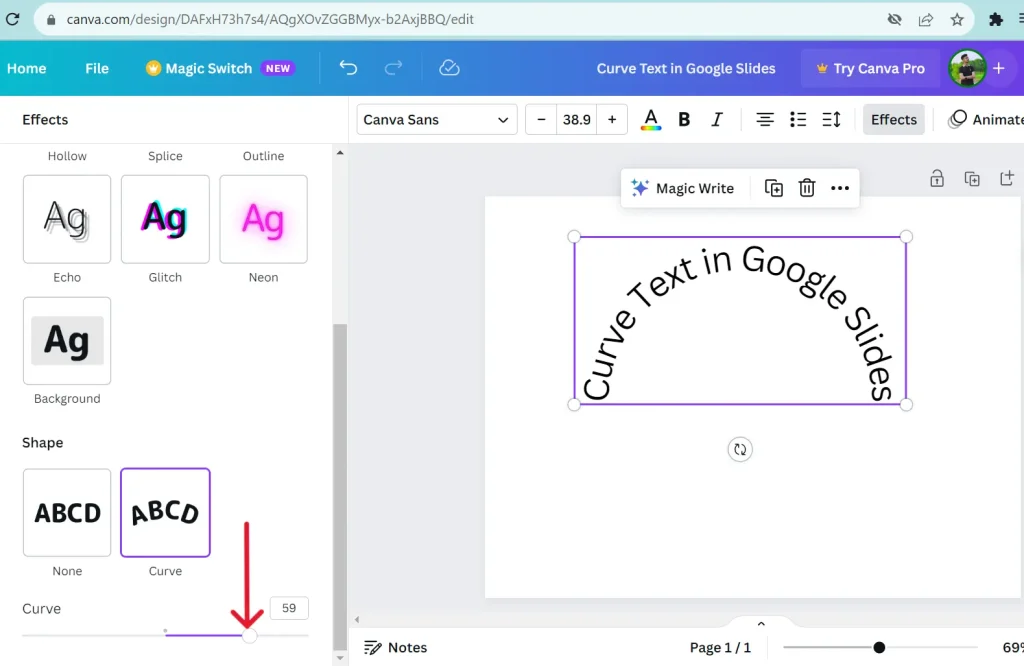
Click the curve from the given effects.
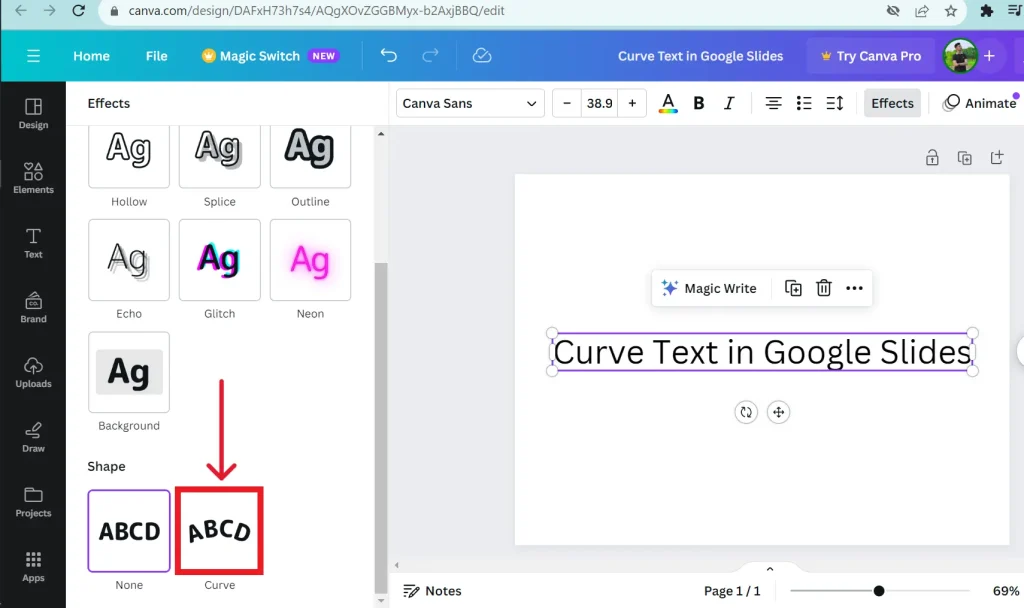
You can also adjust how much curve text you need.
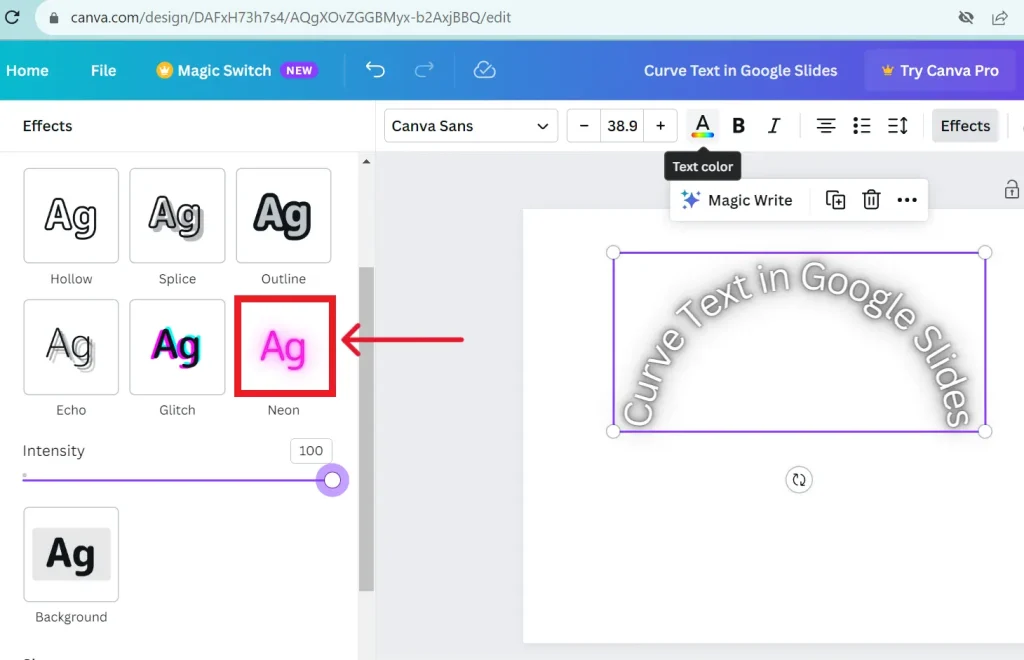
You can also choose other effects like Hollow and Neon etc.
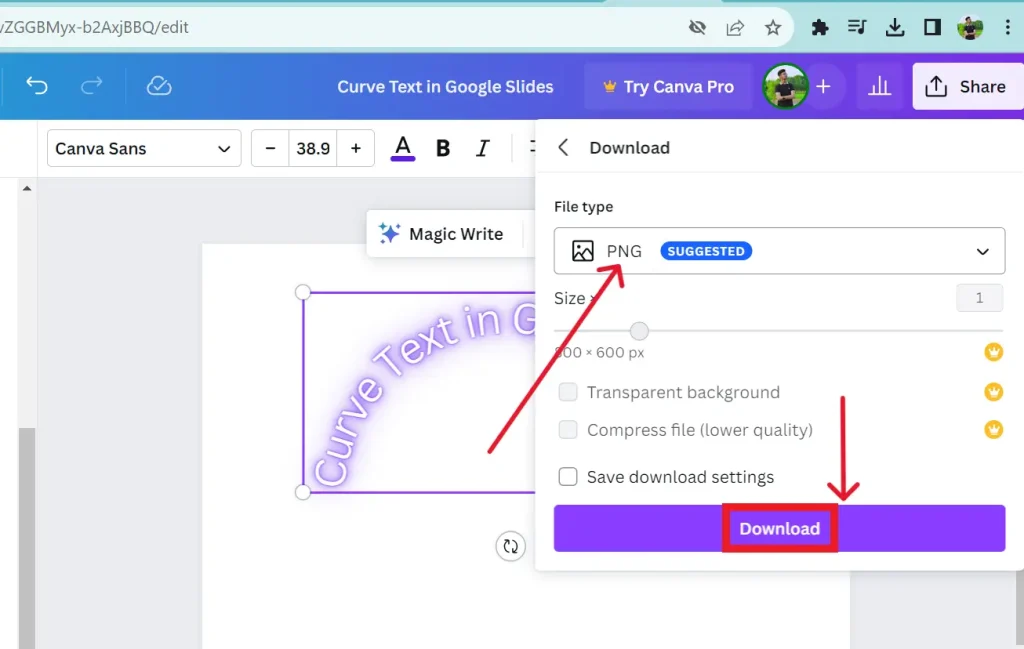
After applying effects and customizing the text according to your needs, you can now click share in the top right corner and then click download.
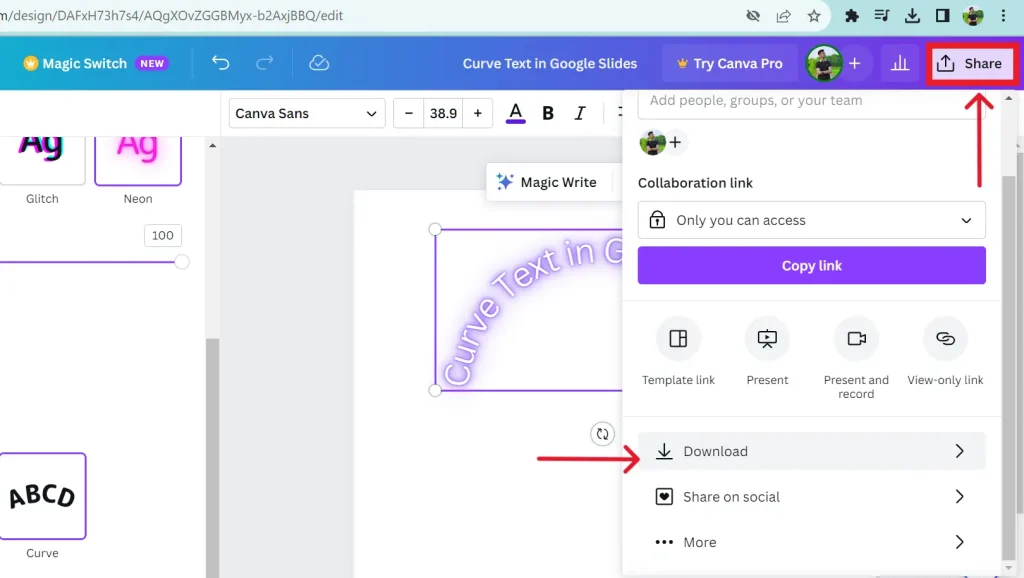
Select PNG and then click download.
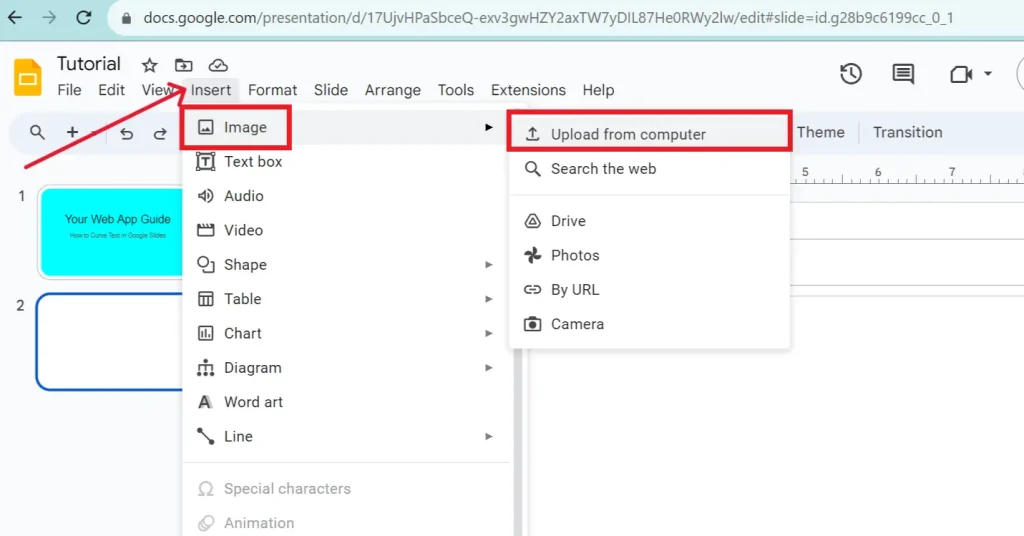
Now, you need to go to your Google Slides presentation and click insert, click image from the drop down menu and select upload from computer.
After uploading you can adjust the size and perform other customizations.
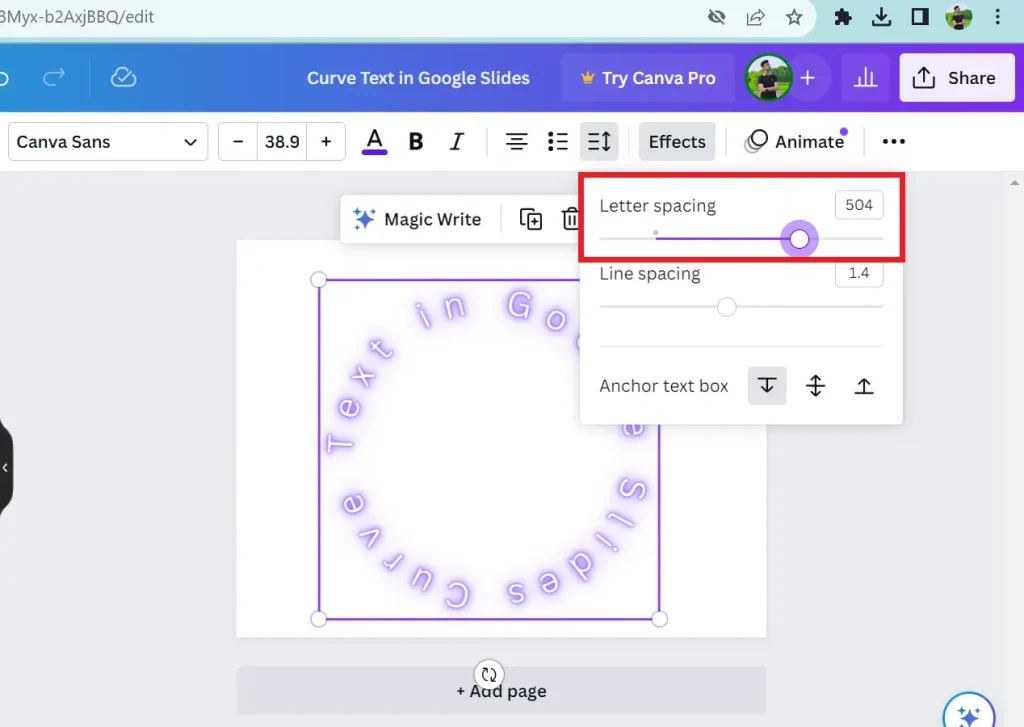
How to Make Circular Text in Canva
You just need to go to spacing from the top toolbar and Adjust the letter spacing
Way 2: How to Curve Text in Google Slides using PowerPoint
There is another way to create curve text in Google Slides using Microsoft PowerPoint if you don’t want to create curve text using Canva or you don’t have an internet connection or whatever the reason behind it. You can simply follow these steps to create curve text using PowerPoint.
Open PowerPoint on your computer or you get it from Microsoft PowerPoint.
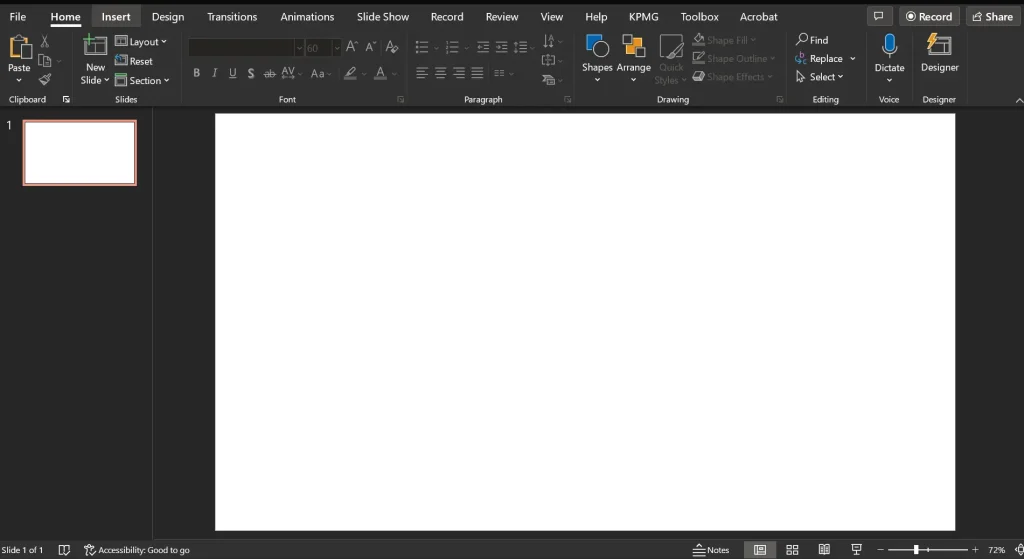
Now, go to the Insert tab and click the text box from the ribbon. Draw the text box according to your size needs. Then type the text in the text box

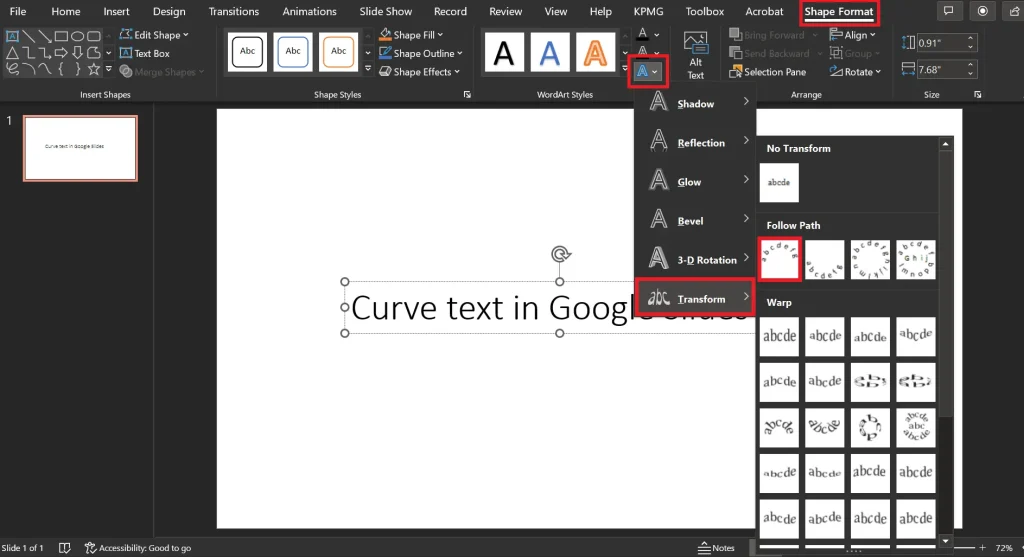
Now go to the shape format tab and click text effects. Hover on transform and select the way you want to curve the text.
You can adjust its curviness by changing the size of the text box.
You can format your text by changing color, font style, size, or other things you like from the Home tab.
After customizing, right-click on the text box and copy it.

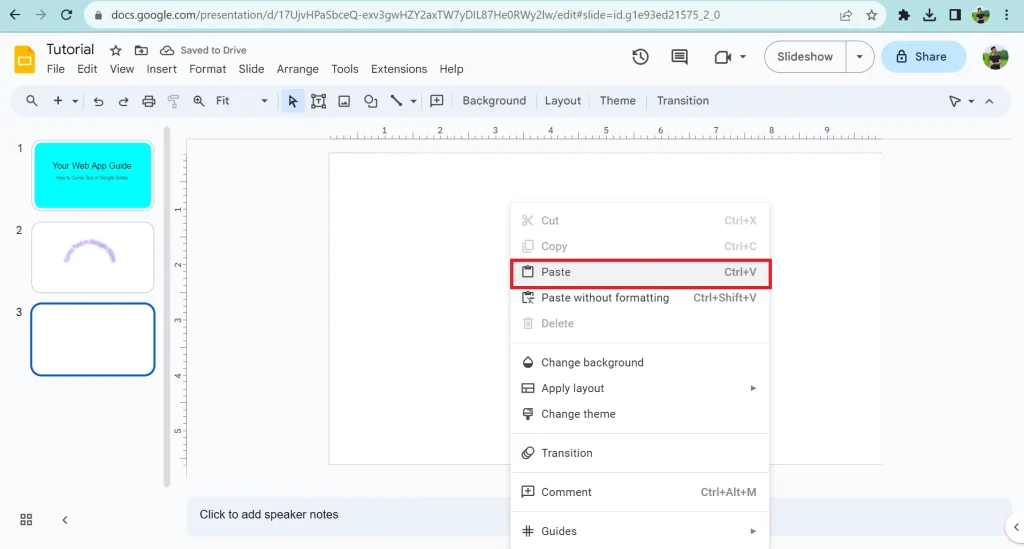
Go to your Google Slides presentation and paste the text box there.
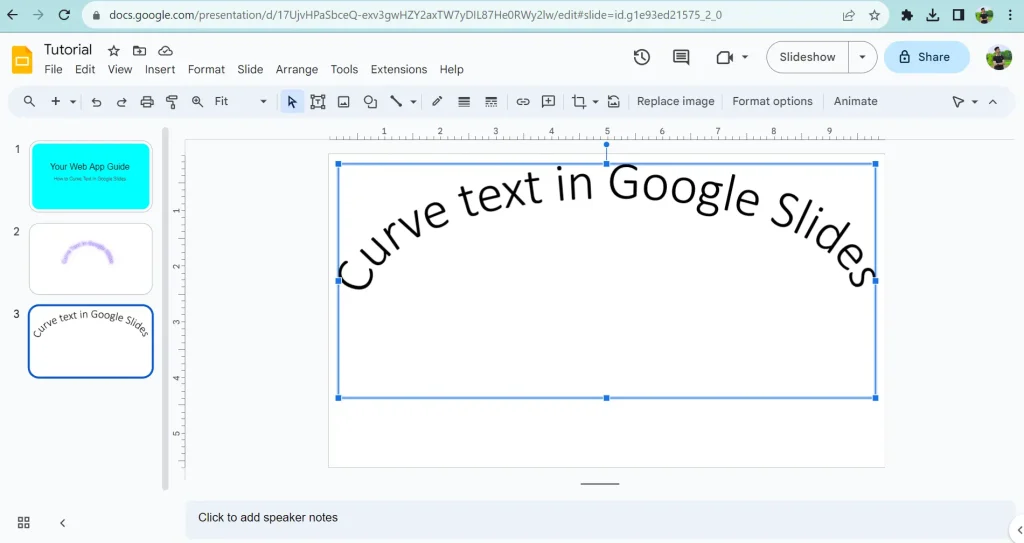
Hence, you have successfully created your curve text. If it doesn’t fit on your Google Slides presentation then repeat the whole process to create that fulfills your needs.
Conclusion
In conclusion, this article offers valuable insights into curving text in Google Slides, a technique that can significantly enhance the visual appeal of your presentations and captivate your audience. While Google Slides doesn’t natively support text curvature, it presents two practical methods to achieve this effect. You can either use Canva, a versatile graphic design tool, to create and customize curved text before importing it into your presentation, or opt for Microsoft PowerPoint to generate curved text and seamlessly transfer it to Google Slides. These methods provide a creative solution for individuals seeking to add a unique touch to their slideshows, ultimately elevating the overall quality of their presentations.
Related: How to recall an email in Outlook

Only a smiling visitor here to share the love (:, btw outstanding layout.